

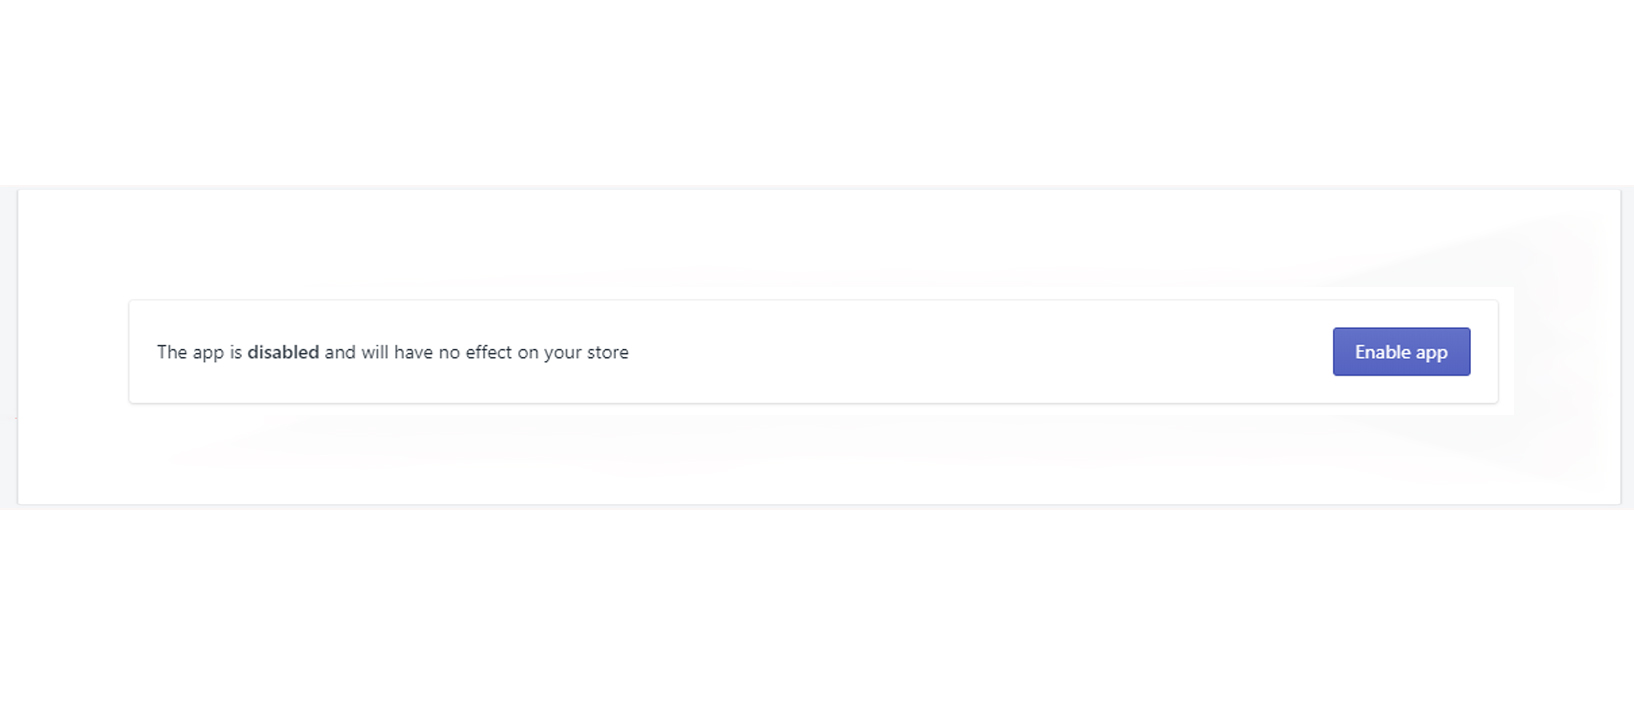
You might be surprised by how many people think that app doesn’t work because it wasn’t actually enabled. Please make sure to enable this app as a first thing.
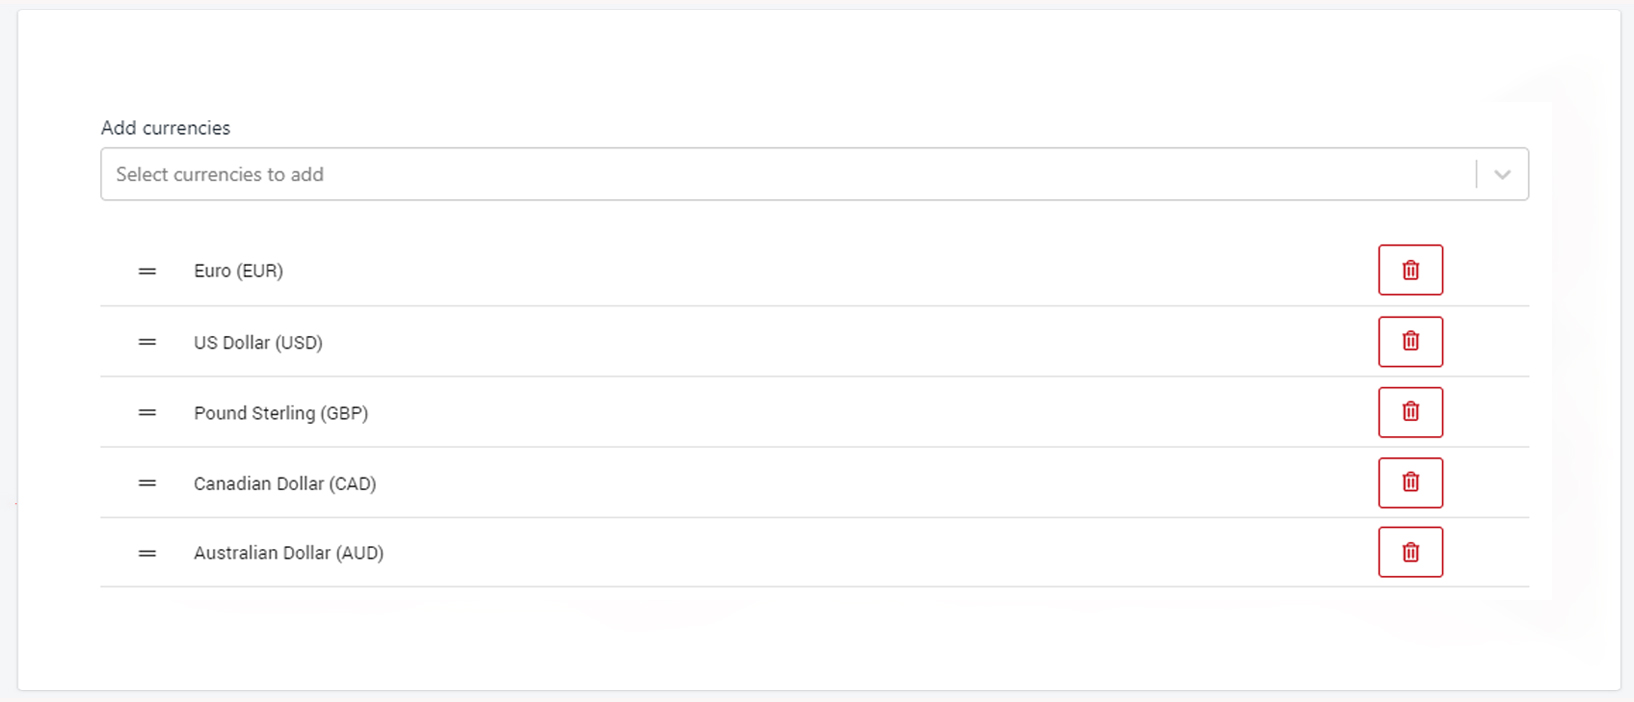
By default, we pre-add 5 currencies to be displayed on your store for your users. But feel free to delete/edit those and add extra ones from the drop-down list.
Select the positioning for your currency switcher.
This positioning will display currency switcher next to the main navigation in the header
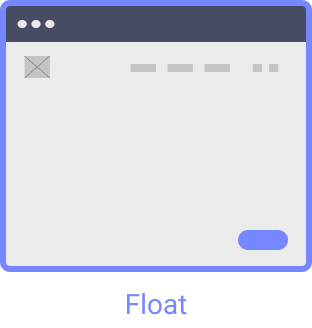
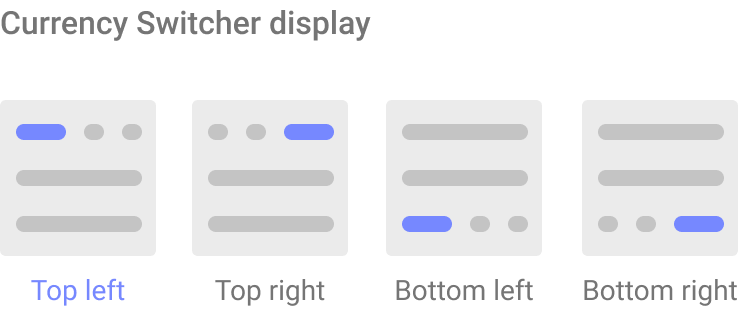
The float option will display the switcher in a “floating” position. It has some additional options for you to select in which corner of your store you want it to be displayed.
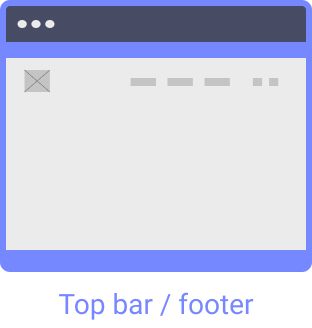
This option will display the bar in the Top or the bottom Footer position of your website.
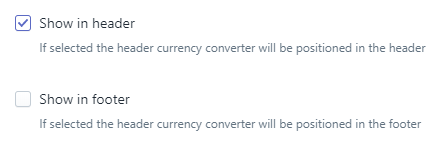
This positioning will give you ability to choose from where you would like your currency converter to be displayed – in the header, in the footer or in both.
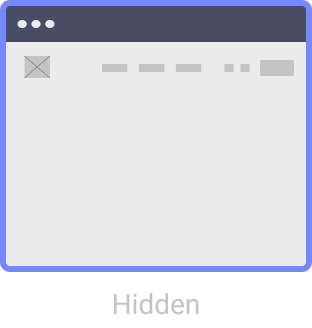
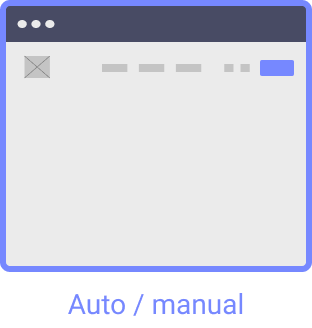
The hidden option allows currency to be converted automatically, based on the customer’s local currency.
Please note: for the currency converter to work while hidden, the auto-detection feature must be enabled (so, you’ll have to scroll up to the General Settings section)

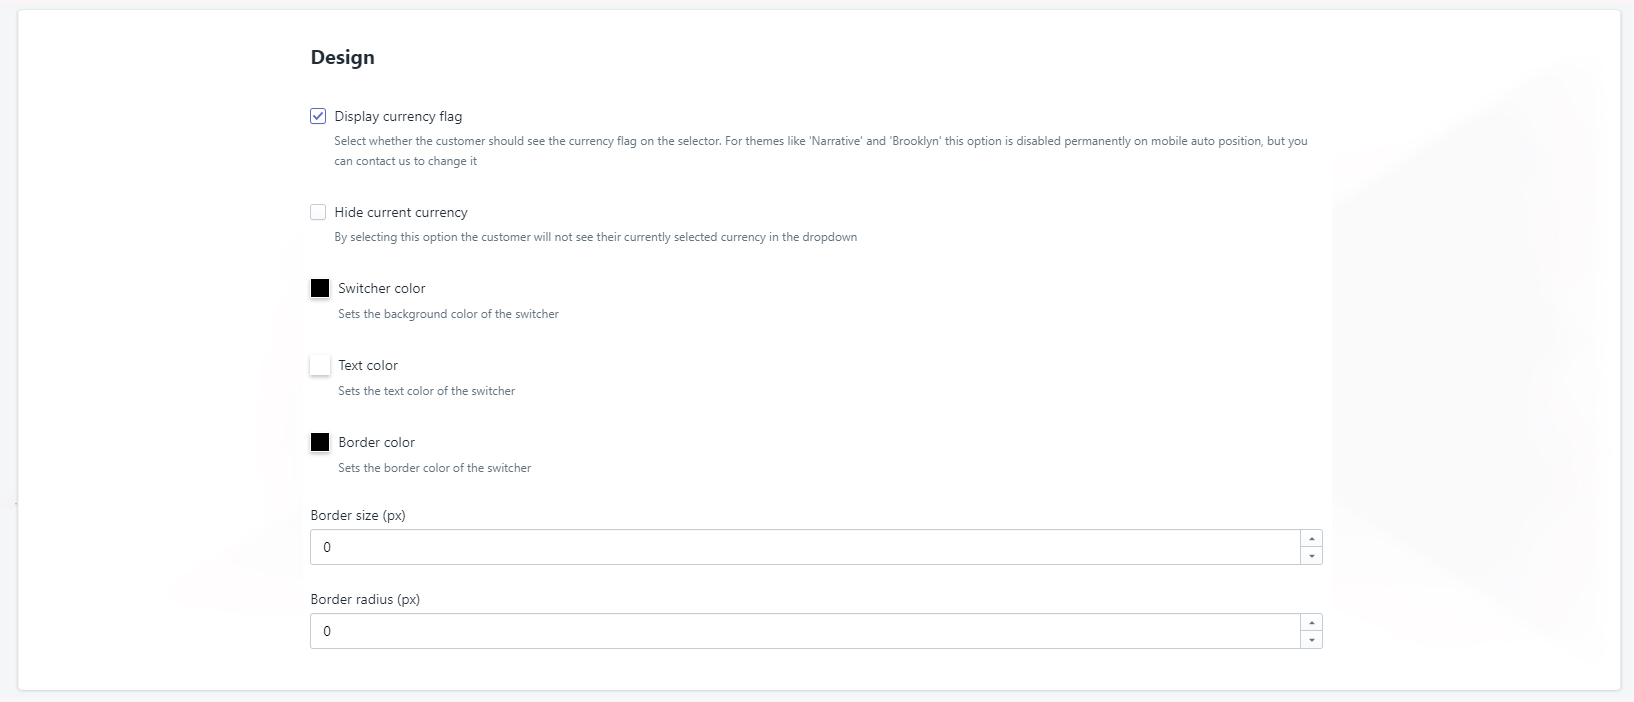
Set up the design settings of your converter – from the background of the switcher to the text and border color
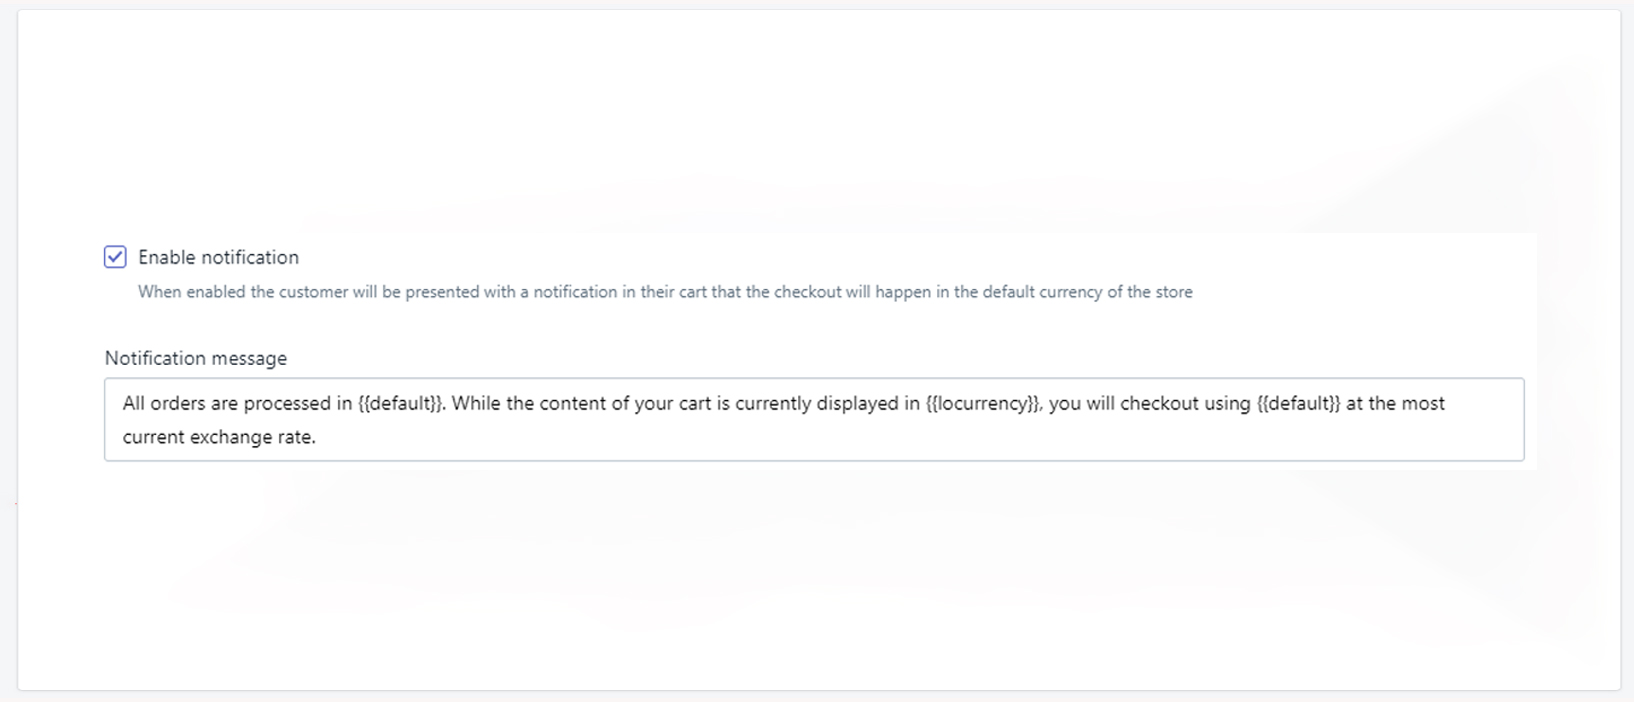
By Shopify regulations, all checkouts will be done in the shop default currency. We’ve added a default message for you but feel free to edit it.
If you’ve enabled the app in Step 1, please make sure you save your settings
You might be surprised by how many people think that app doesn’t work because it wasn’t actually enabled. Please make sure to enable this app as a first thing.
By default, we pre-add 5 currencies to be displayed on your store for your users. But feel free to delete/edit those and add extra ones from the drop-down list.
Select the positioning for your currency switcher.
This positioning will display currency switcher next to the main navigation in the header
The float option will display the switcher in a “floating” position. It has some additional options for you to select in which corner of your store you want it to be displayed.
This option will display the bar in the Top or the bottom Footer position of your website.
This positioning will give you ability to choose from where you would like your currency converter to be displayed – in the header, in the footer or in both.
The hidden option allows currency to be converted automatically, based on the customer’s local currency.
Please note: for the currency converter to work while hidden, the auto-detection feature must be enabled (so, you’ll have to scroll up to the General Settings section)
Set up the design settings of your converter – from the background of the switcher to the text and border color
By Shopify regulations, all checkouts will be done in the shop default currency. We’ve added a default message for you but feel free to edit it.
If you’ve enabled the app in Step 1, please make sure you save your settings
